HPE Smart Array Controller
The
HPE Smart Array Controller provides enterprise-class storage
performance, increased internal scalability with SAS Expander Card, and
data protection for HPE ProLiant rack and tower servers.
There is a built-in tool for managing the Smart Array Controller in
HPE Proliant servers. We can access it during the the server boot time
to configure the disk arrays. However if we already have ESXi installed
on the server and we want to monitor or update the array configuration
directly from ESXi’s shell, we can use the offical softwares from HPE.
Install Driver & Utilities
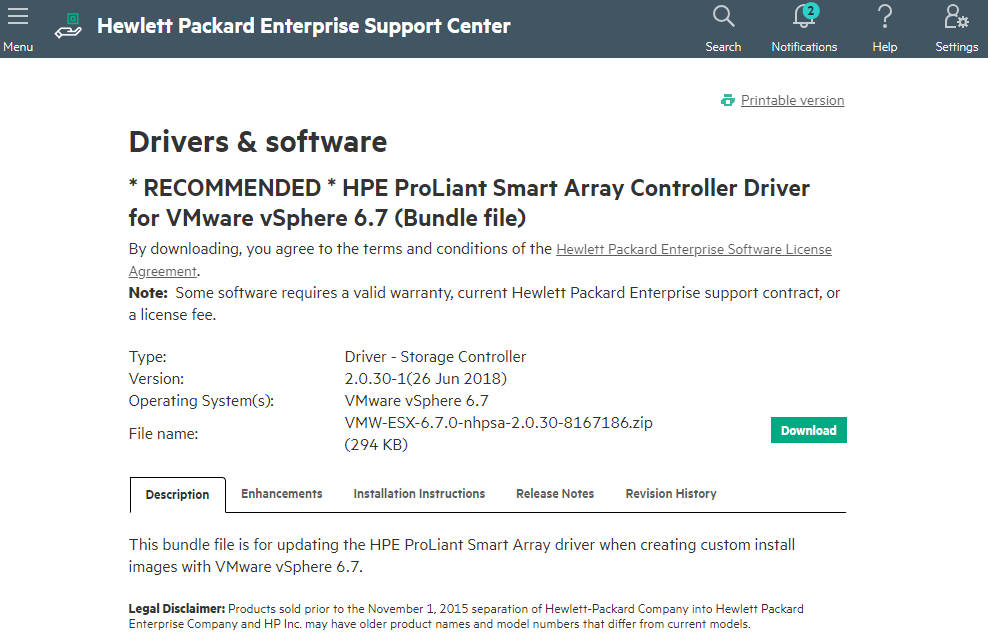
The driver and utilities can be downloaded from HP’s offical website. Following is the hot link you can use.
 HP Smart Array driver download
You must install these softwares from ESXi’s shell so SSH service must be enabled. If you haven’t enabled it yet, login into ESXi Web UI -> Host -> Manage -> Services -> TSM-SSH -> Start to start SSH service.
In this example, I am gonna use esxcli command to install the driver and ssacli command utility to manage the HPE Smart Array. Use WinSCP software or scp command to copy .vib files to ESXi’s /tmp directory and install them. Please make sure you copied them to /tmp otherwirse you won’t able to install successfully.
1
2
3
4
5
6
7
8
9
10
11
12
13
14
15
| [root@esx01:~] esxcli software vib install -v /tmp/nhpsa-2.0.30-1OEM.670.0.0.7535516.x86_64.vib
Installation Result
Message: The update completed successfully, but the system needs to be rebooted for the changes to be effective.
Reboot Required: true
VIBs Installed: HPE_nhpsa_2.0.30-1OEM.670.0.0.7535516
VIBs Removed:
VIBs Skipped:
[root@esx01:~] esxcli software vib install -v /tmp/ssacli-3.25.4.0-6.5.0.vib
Installation Result
Message: The update completed successfully, but the system needs to be rebooted for the changes to be effective.
Reboot Required: true
VIBs Installed: HPE_bootbank_ssacli_3.25.4.0-6.5.0.4240417
VIBs Removed:
VIBs Skipped:
|
We will need to reboot the server for the changes to be effective. Let’s reboot it…
Once server is up, login into ESXi’s shell again and verify the software is installed.
1
2
3
4
5
6
| [root@esx01:~] esxcli software vib list
Name Version Vendor Acceptance Level Install Date
----------------------------- ------------------------------------ --------- ---------------- ------------
ssacli 3.25.4.0-6.5.0.4240417 HPE PartnerSupported 2018-11-25
nhpsa 2.0.30-1OEM.670.0.0.7535516 Microsemi VMwareCertified 2018-11-25
...
|
Using ssacli command
With ssacli
command we get the HPE Smart Array Controller’s config information,
disk status, temperature, etc. It is helpful for the monitoring
activity. The command also help us to be able to configure the arrays
directly from the ESXi’s shell without rebooting server to use HPE Smart
Array Configuration Tool.
Following is an example of showing the HPE Smart Array config.
1
2
3
4
5
6
7
8
9
10
11
12
13
14
15
16
17
18
19
| [root@esx01:~] /opt/smartstorageadmin/ssacli/bin/ssacli ctrl all show config
Smart Array P420 in Slot 2 (sn: PDSXK0ARH5I1YR)
Internal Drive Cage at Port 1I, Box 1, OK
Internal Drive Cage at Port 2I, Box 0, OK
Port Name: 2I
Port Name: 1I
Array A (SAS, Unused Space: 0 MB)
logicaldrive 1 (279.37 GB, RAID 0, OK)
physicaldrive 1I:1:1 (port 1I:box 1:bay 1, SAS HDD, 300 GB, OK)
Array B (Solid State SATA, Unused Space: 0 MB)
logicaldrive 2 (476.91 GB, RAID 1, OK)
physicaldrive 1I:1:2 (port 1I:box 1:bay 2, SATA SSD, 512 GB, OK)
physicaldrive 1I:1:3 (port 1I:box 1:bay 3, SATA SSD, 512 GB, OK)
SEP (Vendor ID PMCSIERA, Model SRCv8x6G) 380 (WWID: 50014380261188AF)
|
There are several helpful commands can be used:
1
2
3
4
5
6
7
8
9
10
11
12
13
14
15
16
17
18
19
20
21
22
23
24
25
26
27
28
29
30
31
32
33
34
35
36
37
38
39
40
41
42
43
44
45
46
47
48
49
50
51
52
53
54
55
56
57
58
59
60
61
62
63
64
65
66
67
68
69
70
71
72
73
74
75
76
77
|
/opt/smartstorageadmin/ssacli/bin/ssacli ctrl all show config
/opt/smartstorageadmin/ssacli/bin/ssacli ctrl all show status
/opt/smartstorageadmin/ssacli/bin/ssacli ctrl all show detail
/opt/smartstorageadmin/ssacli/bin/ssacli ctrl slot=0 show detail
/opt/smartstorageadmin/ssacli/bin/ssacli rescan
/opt/smartstorageadmin/ssacli/bin/ssacli ctrl slot=0 pd all show status
/opt/smartstorageadmin/ssacli/bin/ssacli ctrl slot=0 pd all show detail
/opt/smartstorageadmin/ssacli/bin/ssacli ctrl slot=0 ld all show status
/opt/smartstorageadmin/ssacli/bin/ssacli ctrl slot=0 ld 2 show
/opt/smartstorageadmin/ssacli/bin/ssacli ctrl slot=0 create type=ld drives=1I:1:2 raid=0
/opt/smartstorageadmin/ssacli/bin/ssacli ctrl slot=0 create type=ld drives=1I:1:1,1I:1:2 raid=1
/opt/smartstorageadmin/ssacli/bin/ssacli ctrl slot=0 create type=ld drives=1I:1:1,1I:1:2,2I:1:6,2I:1:7,2I:1:8 raid=5
/opt/smartstorageadmin/ssacli/bin/ssacli ctrl slot=0 ld 2 delete
/opt/smartstorageadmin/ssacli/bin/ssacli ctrl slot=0 ld 2 add drives=2I:1:6,2I:1:7
/opt/smartstorageadmin/ssacli/bin/ssacli ctrl slot=0 array all add spares=2I:1:6,2I:1:7
/opt/smartstorageadmin/ssacli/bin/ssacli ctrl slot=0 modify dwc=enable
/opt/smartstorageadmin/ssacli/bin/ssacli ctrl slot=0 modify dwc=disable
/opt/smartstorageadmin/ssacli/bin/ssacli ctrl slot=0 pd 2I:1:6 modify erase
/opt/smartstorageadmin/ssacli/bin/ssacli ctrl slot=0 ld 2 modify led=on
/opt/smartstorageadmin/ssacli/bin/ssacli ctrl slot=0 ld 2 modify led=off
/opt/smartstorageadmin/ssacli/bin/ssacli ctrl slot=0 modify cacheratio=100/0
/opt/smartstorageadmin/ssacli/bin/ssacli ctrl slot=0 modify nbwc=enable
/opt/smartstorageadmin/ssacli/bin/ssacli ctrl slot=0 logicaldrive 1 modify arrayaccelerator=disable
/opt/smartstorageadmin/ssacli/bin/ssacli ctrl slot=0 logicaldrive 1 modify arrayaccelerator=enable
/opt/smartstorageadmin/ssacli/bin/ssacli ctrl slot=0 array a modify ssdsmartpath=enable
/opt/smartstorageadmin/ssacli/bin/ssacli ctrl slot=0 array a modify ssdsmartpath=di
|
 HP Smart Array driver download


